
My Mum was invited to a wedding this Summer and she wanted a fascinator to wear with her dress. I told her that I would make her something. I thought this was going to be an easy project, but it turned out to be much more difficult than I anticipated. It wasn’t that the process was hard, but more so that I wasn’t really sure until the end how I was going to make it and if it was all really going to come together.
I started the process by doing some research online. I found some absolutely gorgeous images, but they would not easily be recreated with my resources. Lacking vision for the project I went to the craft, fabric and beauty supply stores to see what I could find.
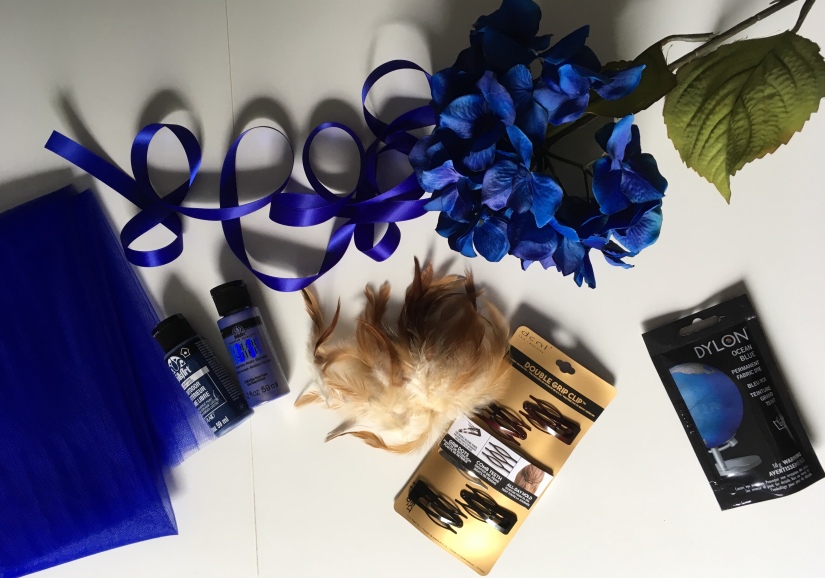
Here’s what I came home with:
- Flowers
- Feathers
- Fabric Dye
- Craft Paint
- Tool
- Ribbon (couldn’t find a use for this in the end)
- Felt
- Hair Clips
Since I couldn’t find feathers in the colour I wanted, I thought that dying them would be a good option. I started with this first since I wasn’t sure if they would turn out or how long the process would take. I used a powdered fabric dye and I actually left them in the mixture for days, making sure to stir and check on them regularly. In case of accidents and because fabric dye is potent, I did this in a plastic container in my laundry tub and I made sure to wear old clothes. After removing the feathers from the dye I rinsed them and left them in the basement on paper towel to dry.

The dye didn’t take to all places on the feather, I ended up trimming the tops off. It was a shame because I choose those feathers since the tops had such great movement.


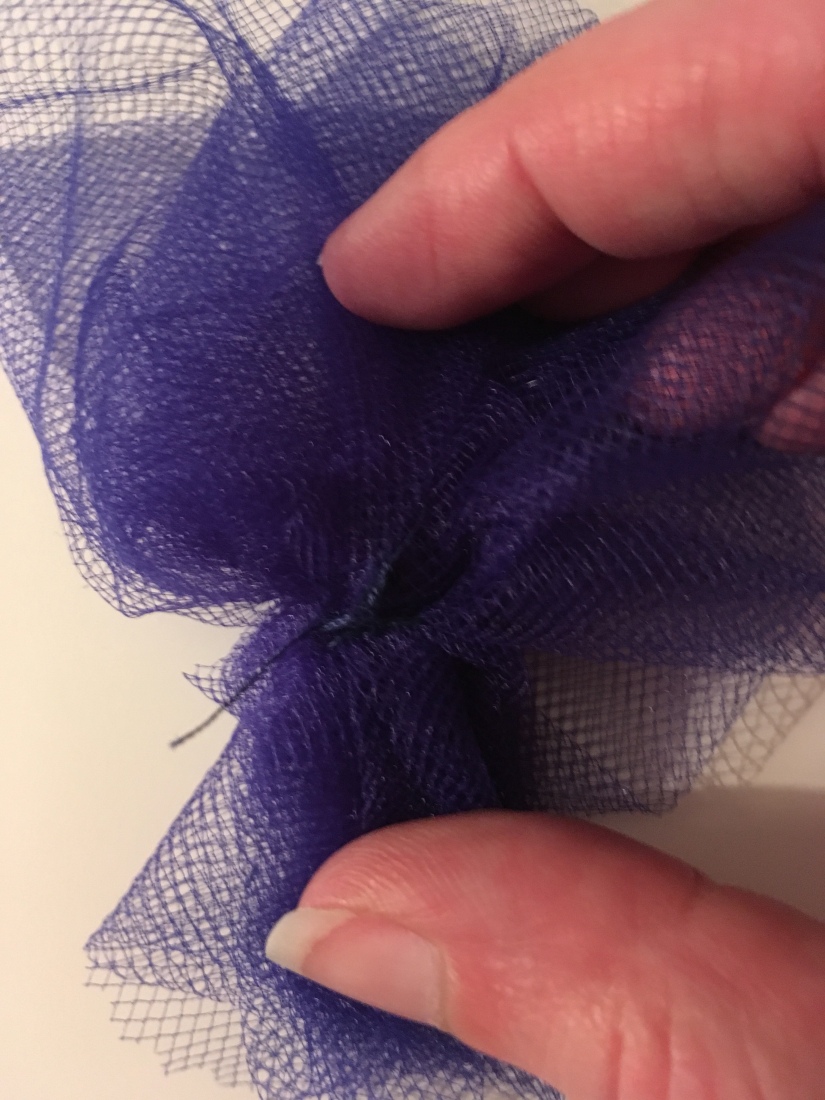
While I was waiting for the feathers I started working with the tool. I bought a metre and cut strips off lengthwise. I wasn’t real precise about it since none of the edges would be showing. I folded the tool strip in half lengthwise and with the raw edges facing down I began to pinch the tool and make tiny gathers. I folded one edge in to form a middle and then started to gather and pinch the strip around it. I was trying to get a florette or flower look. Have a needle and thread ready before you start working with the tool.


Once I was happy with the results, sometimes it took a couple tries to get something I liked, I held everything with one hand and then placed in some stitches with the other until I could let the florette go. Once I had a couple stabilizing stitches in, I would wrap the thread around then base then add a few more stitches.
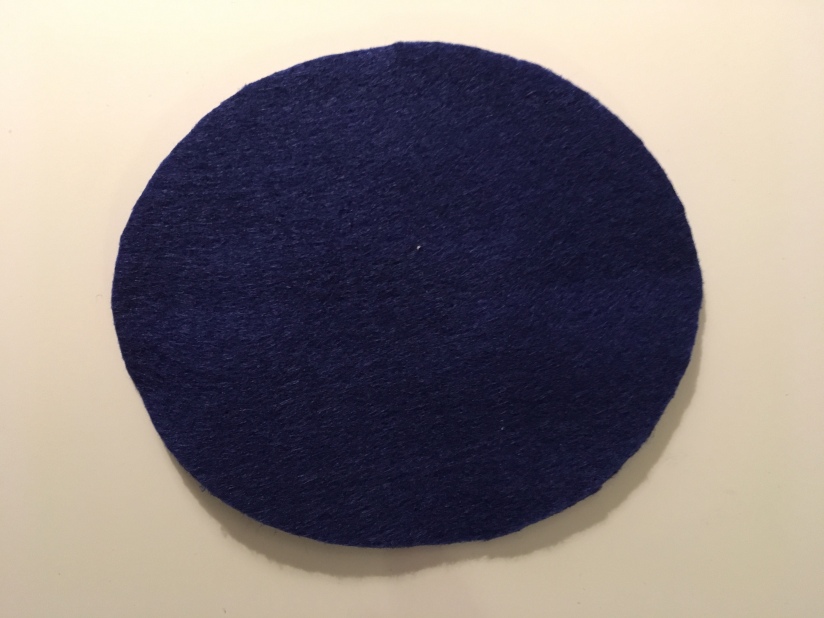
I made about 8 or 9 of these. Then I moved on to the base. Using a piece of paper I traced and cut out an oval. I kept placing the oval against my head to see the size and shape and once it was the right size I traced two ovals out of the felt.
Taking one of the felt ovals I began to attach the tool florettes. I trimmed the bottoms so I could place the florettes flush against the felt and then sewed them to the felt. Once they were attached I could spread out the tops and sew them into an arrangement that I liked. You don’t need to be overly neat with the stitches on the bottom side, it will be covered.

To make some room for the petals and feathers, I sewed a little depression into the centre.


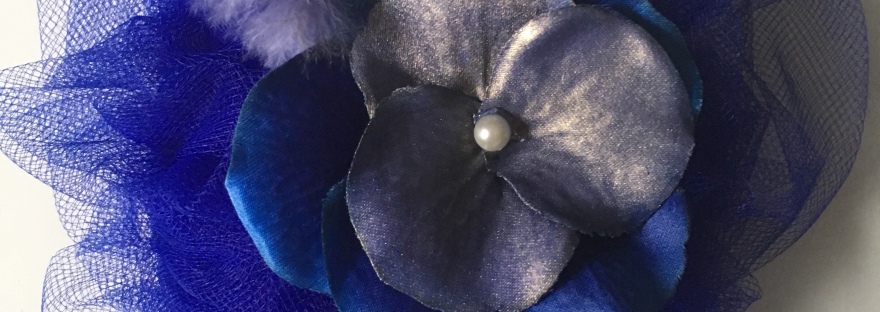
Next I started to remove some flowers from the steams. I cut them off and separated the petals. I painted some of them with an iridescent fabric paint and left them to dry.
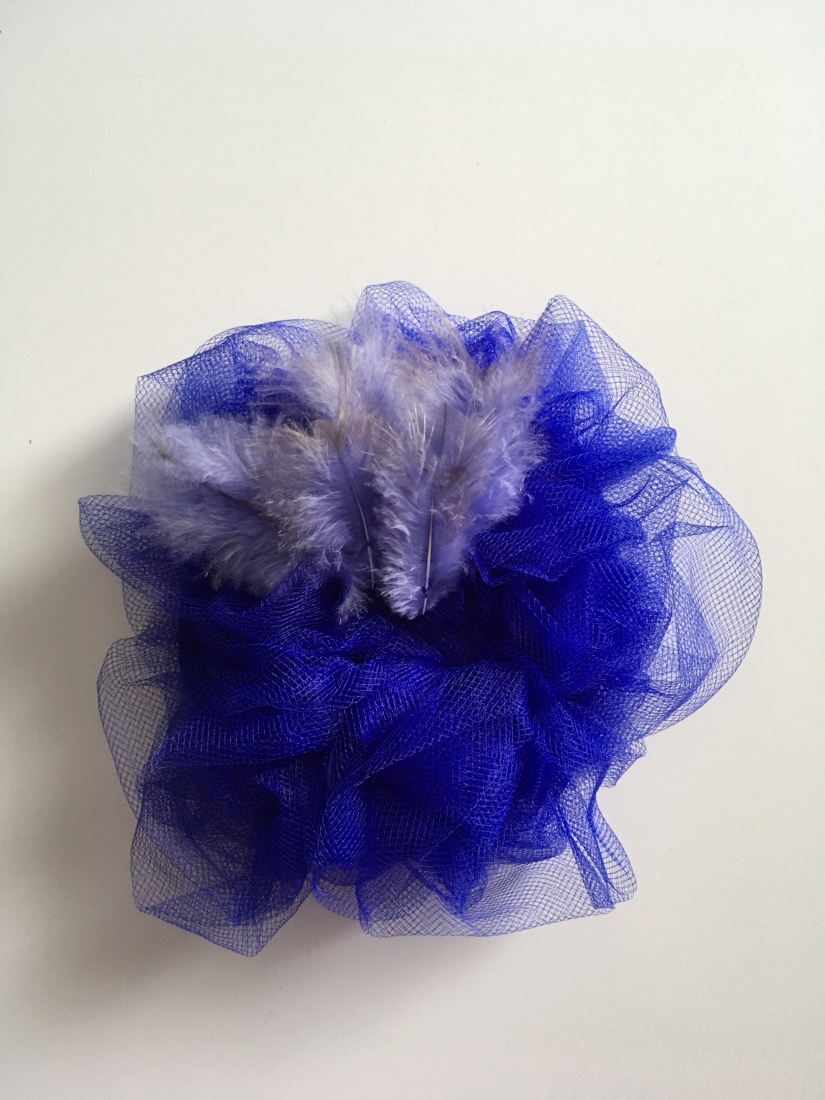
Using a hot glue gun I glued the feathers and the petals in place. Feeling that I needed a little something in the centre of the flower, I added a pearl.


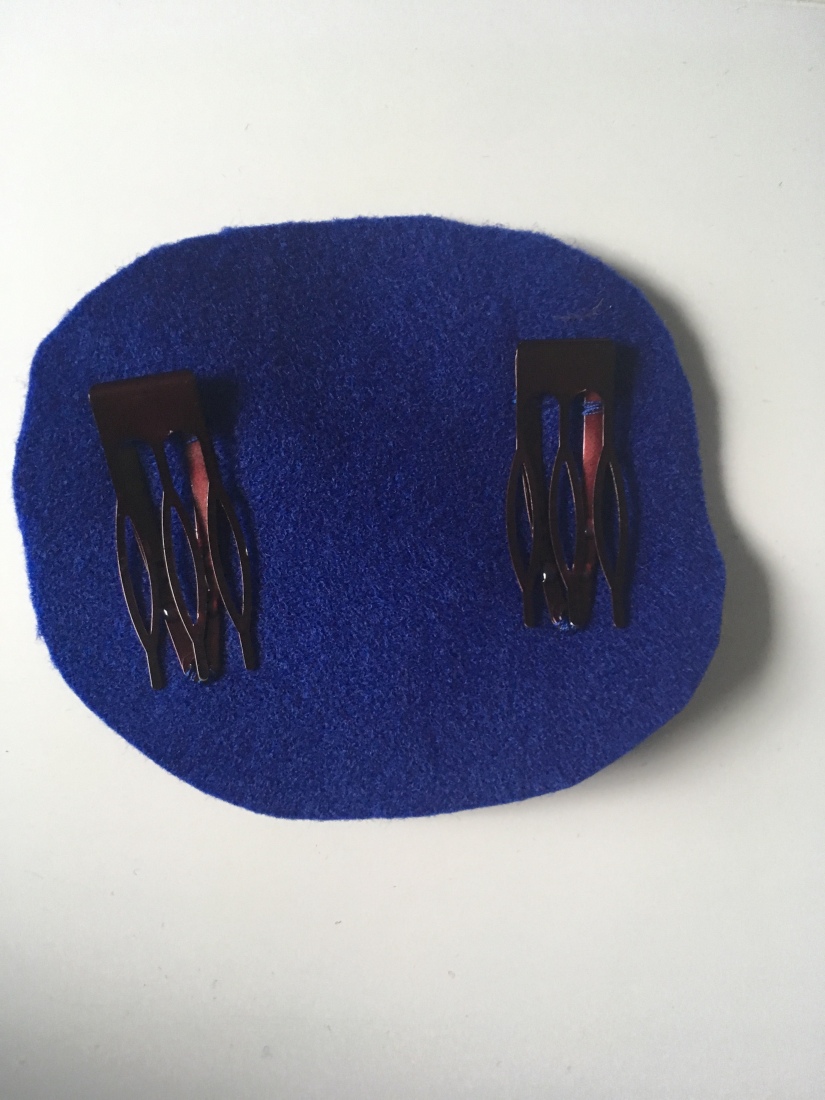
Taking the second piece of felt and the hair clips, I placed them on the felt, then sewed them into place.
Flipping over the fascinator felt and place the hair clip felt on top, using whip stitches I sewed both pieces together.
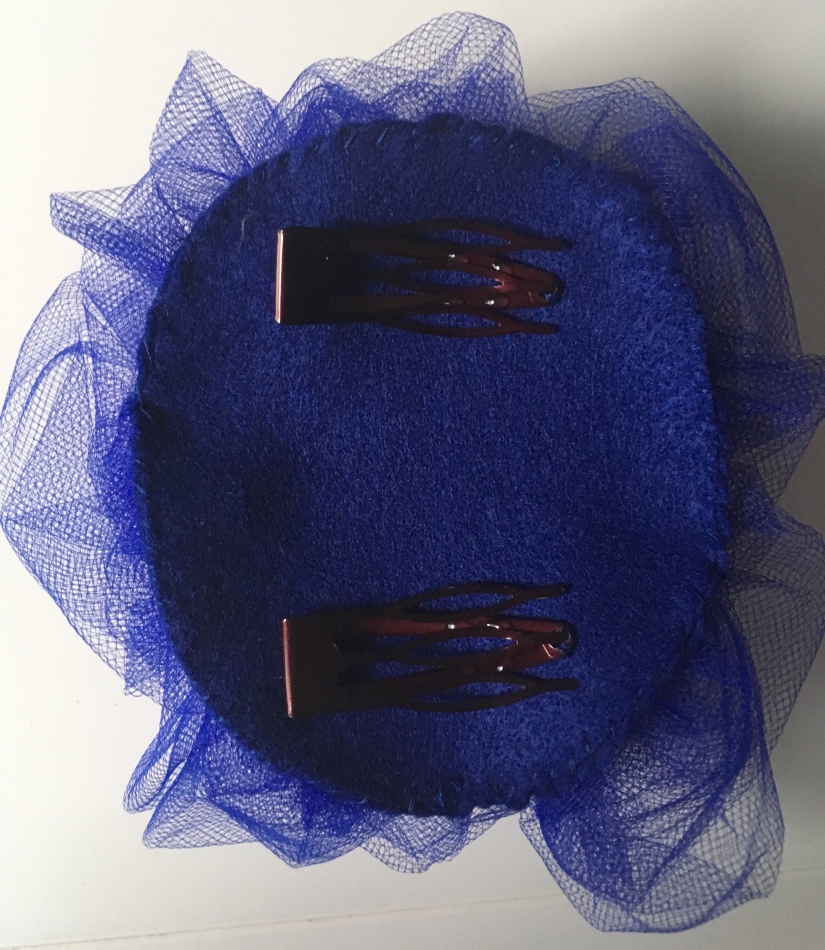
You’re now ready for your big event.

Have you ever made a fascinator or a fancy hair accessory?
For more project ideas please subscribe. You can also follow me on Instagram: @mavenmakes

Oooooh! I love this! Hair accessories are the best! Maven, this was labor intense, you’re right! I have to say it turned out very lovely and I’m sure your Mother would be proud to wear it. I’m really getting into making hair adornments, just bought a book about this subject. I’m enjoying it so much. Love your projects Maven!
LikeLiked by 1 person
Thank you so much Diana! My Mum really did enjoy wearing it.
That’s so exciting! Sounds like a great read. I can’t wait to see what you are inspired to create. 🙂
LikeLiked by 1 person
You’re welcome Maven! I’m trying to get a simple hair accessory posted soon! xoxo
LikeLiked by 1 person